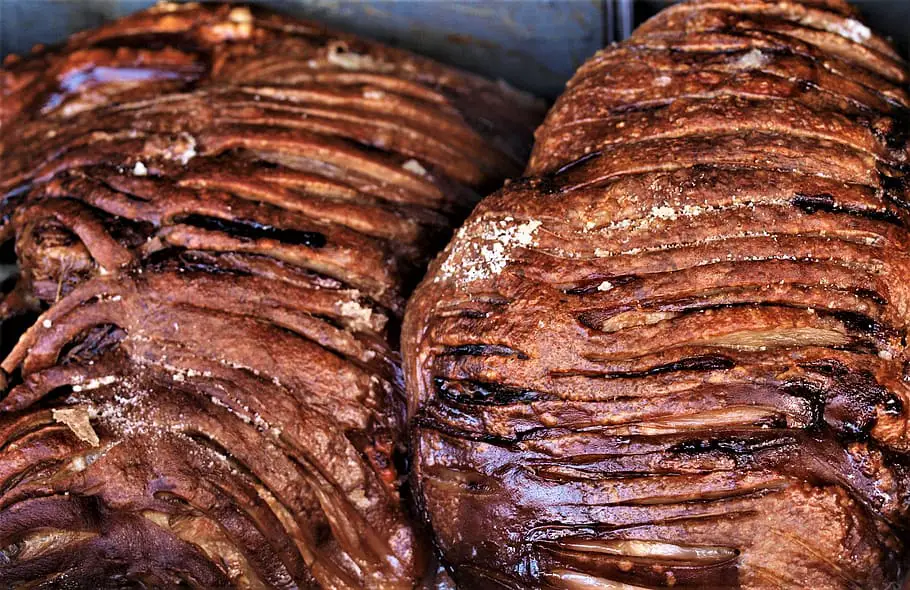
If you’re on the hunt for a foolproof method to create a delicious convection oven eye round roast, you’ve come to the right place. This guide is designed to walk you through every single step, from gathering your ingredients to savoring the final product.

Table of Contents
Ingredients You Will Need
Getting your ingredients in order is the first step in making a perfect convection oven eye round roast. Here’s what you’ll need:
- 3-4 lb eye round roast
- 3 tablespoons olive oil
- 2 teaspoons salt
- 1 teaspoon black pepper
- 2 cloves garlic, minced
- 1 tablespoon rosemary (optional)
Essential Tools
The right tools can make or break your cooking experience. Ensure you have these essentials on hand:
- Meat thermometer
- Roasting pan with rack
- Aluminum foil
- Sharp chef’s knife
- Large cutting board
- Measuring spoons
- Small mixing bowl
Step 1: Preparation Steps
Proper preparation is key. Let’s get started:
Preheat the Oven:
Locate the temperature control on your convection oven. Turn the control knob or use the digital interface to set the oven temperature to 375°F (190°C). Activate the convection setting if your oven has a separate option for it. Wait for the oven to reach the set temperature. Many ovens will beep or display a “ready” message when preheating is complete.
Prepare the Roasting Pan:
Take out your roasting pan and separate the rack from the pan. Cut a piece of aluminum foil large enough to line the bottom of the pan. Place the aluminum foil at the bottom of the pan and press it into the corners for a snug fit. Place the rack back into the pan on top of the foil.
Mix Seasoning:
Grab a small mixing bowl from your kitchen cabinet. Measure 2 teaspoons of salt and pour it into the bowl. Measure 1 teaspoon of black pepper and add it to the salt. Peel 2 cloves of garlic and mince them finely. Add the minced garlic to the bowl. If you’re using rosemary, measure 1 tablespoon and add it to the mix. Use a spoon to thoroughly mix all the ingredients until they are evenly distributed.
Season the Meat:
Place a large cutting board on a stable surface. Remove the eye round roast from its packaging and place it on the cutting board. Measure 3 tablespoons of olive oil and pour it onto the surface of the roast. Use your hands to rub the olive oil evenly over the entire surface of the roast, including the sides.
Take the mixed seasoning you prepared earlier and sprinkle it over the roast. Again, use your hands to rub the seasoning into the meat, making sure it’s evenly coated on all sides. Double-check to ensure that no areas of the roast are left unseasoned.
Read more articles on convection oven cooking here – Convection Oven: Your Ultimate Guide
Step 2: Cooking the Eye Round Roast
With preparation complete, it’s time to cook:
Place the seasoned eye round roast on the rack in your prepared roasting pan. Accurately gauge the roast’s internal temperature by inserting a meat thermometer into the thickest part, avoiding the bone if applicable.
Carefully place the roasting pan inside your preheated convection oven. As a rule of thumb, you’ll need approximately 20-25 minutes per pound. Keep an eye on the meat thermometer. For medium-rare, aim for an internal temperature of 125°F (51°C); for medium, aim for 135°F (57°C).
Step 3: Letting the Roast Rest
Once your meat thermometer reads your desired temperature, remove the roasting pan from the oven. Cover the roast loosely with aluminum foil and let it rest for 10-15 minutes. This helps the juices redistribute.
Step 4: Slicing and Serving
Place a large cutting board on a stable surface. Using a sharp chef’s knife, make even slices against the grain of the meat for the most tender eating experience. Your convection oven eye round roast is now ready to be served. Enjoy your meal!
Convection Oven Eye Round Roast: Conclusion
By following these steps, you should now have a mouthwatering convection oven eye round roast that’s cooked to perfection. Remember, the key to a great roast lies in proper preparation, accurate cooking times, and allowing the roast to rest before serving. Enjoy!