Oven error codes appear when a component stops functioning properly. In this article, we will look at Siemens oven error codes and show you how to fix them.
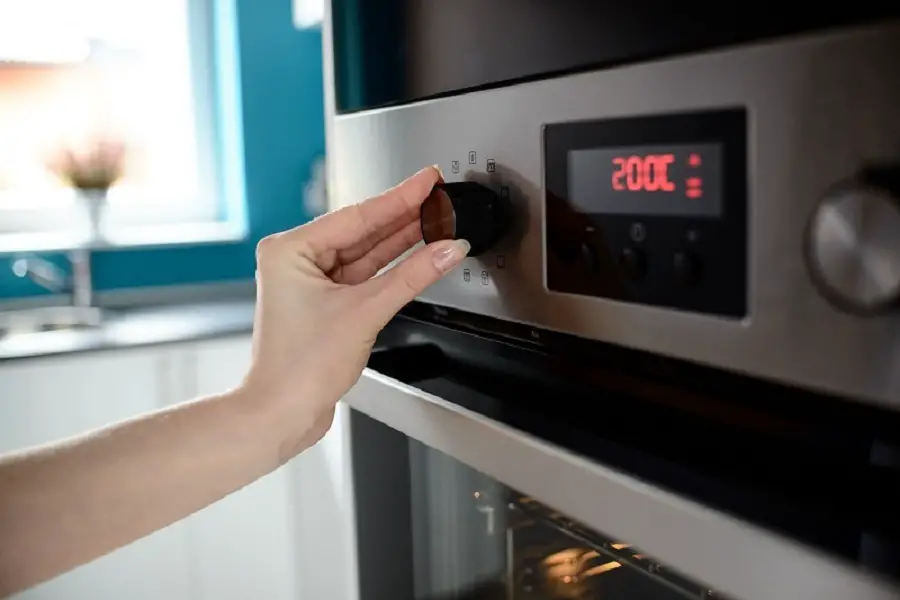
Table of Contents
Siemens Oven Error Code F5 — How To Fix
If you see this Siemens oven error code, first reset the oven by disconnecting the power for a few minutes. If that doesn’t fix the problem, the main control board should be replaced. Follow the steps below to replace this component…
Step 1: Locate your Siemens oven’s circuit breaker and switch it off for safety.
Step 2: Open the door of the oven.
Step 3: Flip the latches on the door hinges forward to release. If you find it difficult to flip the latches, use a flat blade screwdriver.
Step 4: Close the door till it can’t go any further.
Step 5: Lift the door off the oven and set aside on a sturdy cloth lined surface. Do not lift the oven off by the door handle.
Step 6: Using a Philips head screwdriver, take out the screws which hold the oven to the cabinet. There are screws on each side of the oven.
Step 7: Lift the oven out of the cabinet and get a Torx head screwdriver.
Step 8: Unscrew the oven’s top panel using the Torx head screwdriver.
Step 9: Set the top panel aside.
Step 10: Take a picture of the main control board to note where each wire goes on it. The board is behind the oven’s front panel.
Step 11: Disconnect the wires and ribbon cable from the board.
Step 12: Detach the clips which hold the plastic bracket above the control board.
Step 13: Carefully bend back the plastic tabs securing the board. While bending the tabs back, lift the board.
Step 14: Get a new control board for your oven.
Step 15: Position the board on the front panel and push it into place.
Step 16: Return the support bracket as well.
Step 17: Connect the wires to the board making sure that each one goes to the right place.
Step 18: Reposition the oven’s top panel and hold it in place with the screws.
Step 19: Return the oven to the cabinet and secure with the Philips head screws.
Step 20: Lift the door and insert the hinges into the slots in the lower corners of the oven’s frame.
Step 21: Open the door fully and flip back the hinge latches to hold it in place.
Step 22: Shut the door of the oven.
Step 23: Switch the circuit breaker back on.
Also follow the steps above to replace the control board if you see the Siemens oven error code E6100.
The video below will give you a visual of how to replace the main control board in your Siemens oven.
Siemens Oven Error Code F8 — How To Fix
This Siemens oven error code appears when the control board isn’t being supplied with enough power. This is most likely because the power board has started to fail. To fix this issue, you will need to replace the power board. Follow the steps listed below to do this…
Step 1: Locate the circuit breaker of your Siemens oven.
Step 2: Switch the circuit breaker off to avoid the risk of electrocution.
Step 3: Open the door of the oven.
Step 4: There are screws on the sides of the oven’s frame which hold it to the cabinet. You will need a Philips head screwdriver to take them out.
Step 5: Once you have taken out the screws, lift the oven out of the cabinet.
Step 6: Set the oven door on a sturdy surface.
Step 7: Get a Torx head screwdriver.
Step 8: Using the Torx head screwdriver, take out the screws which hold the oven’s top panel in place.
Step 9: Lift the top panel off the oven.
Step 10: Set the panel aside.
Step 11: Once you lift the panel off, you will see the power board on the left side of the oven. Take a picture of the power board to note where each wire goes on it.
Step 12: Disconnect the wires from the power board.
Step 13: Take out the screws which hold the board board to the top of the oven. If there aren’t any screws, detach the clips which hold the power board to the oven.
Step 14: Remove the power board.
Step 15: Get a new Siemens oven power board.
Step 16: Position the new power board on the top of the oven.
Step 17: Hold the board in place using the screws.
Step 18: Reposition the top panel on the oven.
Step 19: Secure the top panel to the oven using the Torx head screws.
Step 20: Lift the oven up.
Step 21: Push the oven back into the cabinet.
Step 22: Secure the oven to the cabinet by returning the Philips head screws on the sides.
Step 23: Shut the door of the oven.
Step 24: Reconnect the power to your Siemens oven by switching the circuit breaker back on.
If you see the Siemens oven error code E0511, also follow the steps above to replace the power board However, try resetting the oven for 10 minutes before doing this.
Siemens Oven Error Code E005 — How To Fix
Sometimes, this Siemens oven error code appears as a glitch. To fix this problem, try switching the circuit breaker off for at least 10 minutes. After 10 minutes, switch the circuit breaker on. Leave the breaker on for a minute then switch it back off for another 10 minutes. If that doesn’t fix the problem, there is a problem with the oven’s control. Contact a technician to identify and fix the problem. You could also read this article: Siemens Oven Won’t Turn On/Off [How To Fix] to replace the main control board in your Siemens oven.
Siemens Oven Error Code E011 — How To Fix
This Siemens oven error code appears when one of the buttons on the control panel has been held down for a long time. If you haven’t held any button down, there may be some dirt or moisture on the control panel causing the oven to think this. Turn the oven off and get a soft cloth. Use the soft cloth to clean the oven’s control panel. If the control panel is wet, leave it to dry completely before turning the oven back on. The same also applies for the Siemens oven error code E0532.
Siemens Oven Error Code E101 — How To Fix
If you see the Siemens oven error code E101, the temperature has probably failed. Below, we have listed the steps you need to follow in order to test and replace the temperature sensor in your Siemens oven…
Step 1: Locate the circuit breaker of your Siemens oven.
Step 2: Switch the circuit breaker off for safety.
Step 3: Open the door of the oven.
Step 4: Get a flat blade screwdriver, Philips head screwdriver, and Torx head screwdriver.
Step 5: Use the flat blade screwdriver to flip the latches on the door hinges forward.
Step 6: Close the door till it stops moving.
Step 7: Grip the door and lift it off the oven.
Step 8: Place the door assembly on a sturdy surface lined with a cloth.
Step 9: Now, use the Philips head screwdriver to take out the screws holding the oven to the cabinet. There are two screws on each side of the oven’s frame.
Step 10: Once you have taken out the screws, lift the oven out of the cabinet.
Step 11: Set the oven on a sturdy surface with the back facing you.
Step 12: Use the Torx head screwdriver to take out the screws holding the oven’s top panel in place.
Step 13: Set the top panel aside.
Step 14: Unscrew the oven’s rear panel as well.
Step 15: Lift the panel off the oven and set it aside.
Step 16: Disconnect the wire plug connected to the temperature sensor.
Step 17: Get a multimeter.
Step 18: Turn the multimeter’s dial to the lowest ohms setting.
Step 19: Touch the two multimeter probes to the pins in the temperature sensor’s wire plug. The reading of the temperature sensor should be somewhere around 1080 to 1100 ohms. If the reading isn’t around this, the sensor is faulty.
Step 20: Unscrew the temperature from the oven and get a replacement.
Step 21: Pull out the old temperature sensor and insert the new one into the hole in the oven’s rear.
Step 22: Hold the sensor in place with the screws.
Step 23: Connect the wire plug to the new temperature sensor.
Step 24: Return the oven’s rear panel and hold it in place with the Torx head screws.
Step 25: Reposition the top panel on the oven and secure using the screws.
Step 26: Lift the oven back into the cabinet.
Step 27: Secure the oven to the cabinet using the four Philips head screws.
Step 28: Lift the oven door.
Step 29: Insert the hinges into the slots in the lower corners of the oven’s frame.
Step 30: Open the door fully and flip the hinge latches back.
Step 31: Shut the door of the oven.
Step 32: Reconnect the oven’s power by switching the circuit breaker back on.
Siemens Oven Error Code E106 — How To Fix
This Siemens oven error code appears when the door lock fails. Below, we have listed the steps you need to follow in order to replace the door lock in your Siemens oven…
Step 1: Locate the circuit breaker of your Siemens oven.
Step 2: Switch the oven’s circuit breaker off to avoid the risk of electrocution.
Step 3: Open the door of your Siemens oven and get a flat blade screwdriver.
Step 4: To make the oven easier to lift out of the cabinet, you should uninstall the door. To do this, flip the latches on each door hinge forward using the flat blade screwdriver.
Step 5: Now, get a Philips head screwdriver and unscrew the oven from the cabinet. There are two screws on each side of the oven’s frame.
Step 6: Once you have taken out the screws, lift the oven out of the cabinet.
Step 7: Using a Torx head screwdriver, unscrew the oven’s top panel.
Step 8: Lift the top panel off and set it aside.
Step 9: Note where each wire goes on the door lock by taking a picture. The door lock should be close to the oven’s front panel.
Step 10: Disconnect the wires from the door lock.
Step 11: Take out the screws which hold the door lock to the oven. There should be two screws at the front of the oven.
Step 12: If a rod is hooked to the door lock, unhook it to fully remove.
Step 13: Get a new door lock for your Siemens oven.
Step 14: Hook the rod to the new door lock if there is one.
Step 15: Position the lock on the oven and hold it in place with the screws.
Step 16: Connect the wires to the new door lock making sure that each one goes to the right place.
Step 17: Reposition the oven’s top panel and hold it in place with the Torx head screws.
Step 18: Lift the oven up and return it to the cabinet.
Step 19: Secure the oven to the cabinet using the four Philips head screws.
Step 20: Lift the oven door.
Step 21: Insert the hinges into the openings in the sides of the oven’s frame.
Step 22: Open the door fully and flip the hinge latches back.
Step 23: Shut the door of the oven.
Step 24: Switch the circuit breaker back on.
Also follow the steps above to replace the door lock if you see the Siemens oven error code E8010.
Siemens Oven Error Code E6200 — How To Fix
This Siemens oven error code indicates a fault with the oven fan. Follow the steps below to replace the fan in your Siemens oven…
Step 1: Locate the circuit breaker of your Siemens oven.
Step 2: Switch the circuit breaker off to avoid the risk of electrocution.
Step 3: Open the door of the oven.
Step 4: Get a Philips head screwdriver and a Torx head screwdriver.
Step 5: There are two screws on each side of the oven’s frame which hold it to the cabinet. Use the Philips head screwdriver to take out the screws which hold the oven to the cabinet.
Step 6: Lift the oven out of the cabinet and set it on a sturdy surface.
Step 7: Using the Torx head screwdriver, take out the screws which hold the oven’s top panel in place.
Step 8: Lift the top panel off the oven and set it aside.
Step 9: Unscrew the oven’s back panel as well and set it aside.
Step 10: Disconnect the wires connected to the terminals of the cooling fan. Make sure to note where each wire goes first.
Step 11: Take out the screws which hold the cooling fan to the oven.
Step 12: Lift the cooling fan off and get a replacement.
Step 13: Position the new cooling fan on the oven and secure it with the screws.
Step 14: Connect the wires to the terminals of the new cooling fan. Make sure that each wire goes to the right place.
Step 15: Reposition the oven’s back panel and hold it in place with the screws.
Step 16: Return the oven’s top panel as well.
Step 17: Hold the top panel in place with the Torx head screws.
Step 18: Lift the oven up and push it back into the cabinet.
Step 19: Secure the oven to the cabinet using the Philips head screws.
Step 20: Shut the door of the oven.
Step 21: Reconnect the oven’s power by plugging the power cord back into the outlet.