Light is needed when using an oven. It helps you monitor your food and see if something is about to spill over. If your GE oven light is not working, this article will show you how to fix it.
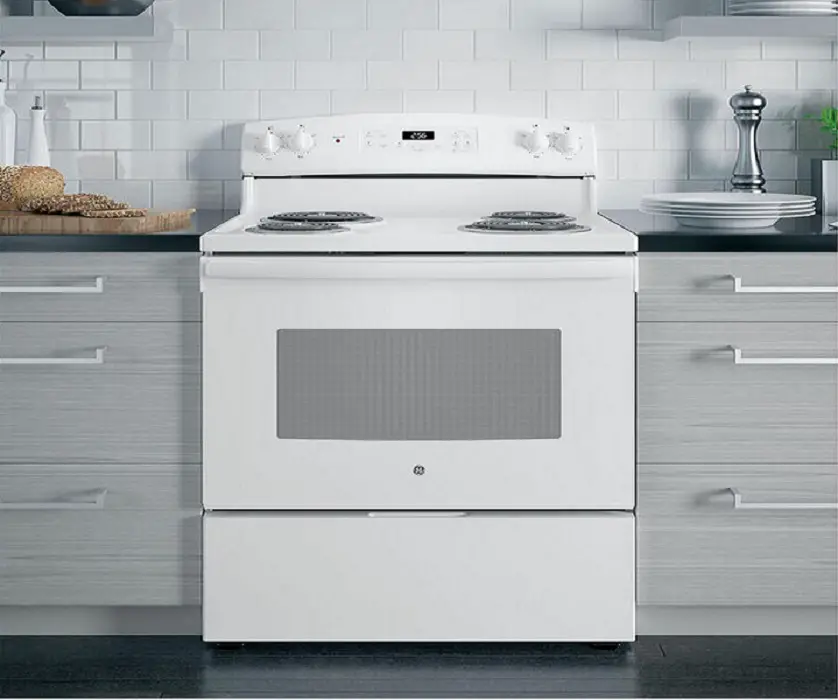
Table of Contents
GE Oven Light Not Working — How To Fix
There are a couple of reasons why your GE oven light could stop working. Below we will list each one and the steps you need to follow to fix them.
1. The Light Bulb
This is the first and most likely reason why your GE oven light would stop working. To replace the light bulb in a GE oven, follow the steps listed below…
Step 1: Unplug the oven.
Step 2: Open the door of the oven take out all the racks.
Step 3: Hold the light cover and push the wire holder up.
Step 4: Remove the light cover.
Step 5: Unscrew the light bulb.
Step 6: Get a new light bulb and screw it into place.
Step 7: Reposition the light cover and push the wire holder down to secure it.
Step 8: Return the oven racks.
Step 9: Close the door and plug the oven back in.
If your GE oven light is still not working, keep reading.
The video below will give you a visual of how to replace a GE oven light bulb.
2. Light Socket
The light socket may also be the reason why your GE oven light won’t work. To replace the light socket in a GE oven, follow these steps…
Step 1: Unplug the oven.
Step 2: Open the oven door.
Step 3: Remove the racks in the oven.
Step 4: Remove the light bulb cover.
Step 5: Unscrew the bulb.
Step 6: Turn the oven around and take out the screws which hold the light socket cover in place. If there is no light socket cover, remove the whole back panel.
Step 7: Disconnect the wires connected to the light socket.
Step 8: Squeeze the clips on the light socket together to push it through the oven.
Step 9: Go back to the oven interior and pull out the light socket.
Step 10: Get a new light socket and push it through the hole in the oven.
Step 11: Reconnect the wires to the socket.
Step 12: Reposition the light socket cover and hold it in place with the screws.
Step 13: Screw the light bulb back in.
Step 14: Return the light bulb cover.
Step 15: Slide the oven racks back in.
Step 16: Close the door and plug the oven in.
Keep reading if your GE oven light still won’t turn on.
The video below will walk you through the process of replacing the light socket in a GE oven.
3. Light Switch
If the socket isn’t faulty but your GE oven light won’t turn on, check the light switch next. To test and replace the light switch in a GE oven, do the following…
Step 1: Unplug the oven.
Step 2: Pull out the control knobs.
Step 3: There will be four screws that are now visible, take them out.
Step 4: Open the oven door and take out the three screws underneath the oven’s control panel.
Step 5: Remove the front panel.
Step 6: Disconnect the wires connected to the light switch.
Step 7: Push the light switch through the front panel.
Step 8: Using a multimeter, test the light switch for continuity. If there is no continuity, get a new light switch.
Step 9: Push the new light switch into the front panel of the oven.
Step 10: Connect the wires to the light switch.
Step 11: Open the oven door and slide the front panel back in.
Step 12: Secure it using the three screws.
Step 13: Return the four screws at the front of the oven panel.
Step 14: Push the control knobs back in.
Step 15: Close the door and plug the oven back in.
If your GE oven light still won’t work, keep reading.
Watch the video below for a visual of how to replace the light switch in a GE oven.
4. Touchpad
To replace the touchpad in a GE oven, do the following…
Step 1: Unplug the oven.
Step 2: Take out the two screws on the bottom front of the oven’s control panel. There will be one screw on each side.
Step 3: Loosen the other two screws behind the control panel.
Step 4: Remove the control panel.
Step 5: Note where each wire goes on the control board then disconnect them.
Step 6: Take out the screws which secure the control board to the panel.
Step 7: Peel of the touchpad. The touchpad could also be called an overlay.
Step 8: Get a new overlay and peel of the backing.
Step 9: Position the overlay on the control board and stick it.
Step 10: Realign the control board on the panel and hold it in place with the screws.
Step 11: Reconnect the wires to the control board.
Step 12: Push the control panel back in and tighten the screws behind it.
Step 13: Return the other two screws underneath the panel.
Step 14: Plug the oven back in.
Watch the video below for a visual of how to replace the touchpad of a GE oven.
Check out these articles…
Oven Noise [Problems & Solutions]
Oven Off [Various Problems & Proven Solutions]
How To Reset A GE Oven [Detailed Guide]
How An Oven Works [Detailed Guide]
How An Oven Heats [Detailed Guide]
GE Oven Light Won’t Turn Off — How To Fix
If your GE oven light won’t turn off, find the switch on the control panel and switch it off. If your oven doesn’t have a light switch, the door switch is probably the cause of the problem. To replace the door switch in a GE oven, follow the steps listed below…
Step 1: Unplug the oven.
Step 2: Pull out the oven.
Step 3: Lift up the oven cooktop.
Step 4: Take out the screw or screws which hold the metal plate underneath the cooktop.
Step 5: Note where each wire goes on the door switch then disconnect them.
Step 6: Squeeze the clips on the door switch then push it out.
Step 7: Test the switch using a multimeter. Get a new switch if there is no continuity.
Step 8: Push the new switch in and reconnect the wires.
Step 9: Reposition the metal plate and secure with the screws.
Step 10: Lower the cooktop down.
Step 11: Push the oven back.
Step 12: Plug the oven back in.
The video below will walk you through the process of replacing the door switch in an oven.
GE Oven Light Cover Stuck — Solution
To remove a GE oven light cover, follow the steps listed below…
Step 1: First of all, unplug your oven or turn off the circuit breaker.
Step 2: Get an oil filter.
Step 3: Put the oil filter tool around the light bulb cover.
Step 4: Twist the oil filter counterclockwise while applying light pressure to it.
Step 5: Remove the bulb cover.
Step 6: If your bulb is burnt, remove it and discard.
Step 7: Get a new bulb. Make sure it is the same kind as the one you removed.
Step 8: Screw the bulb in.
Step 9: Clean the light bulb cover then return it.
Step 10: Plug the oven back in.
If you would like a visual of how to remove the light bulb cover in an oven, watch the video below.
Why Does My GE Oven Light Keep Burning Out?
One reason your GE oven light keeps burning out may be because you aren’t using the right light bulb. Check your oven’s user manual to know the right bulb for your oven’s model. Your oven light may also keep burning out because the bulb isn’t screwed in tightly. Remove the light bulb cover and screw the bulb in tightly if it’s loose.
