Calibrating an oven is essential if you want your food cooked at the right temperature. So, we will show you how to calibrate a Kitchenaid oven in this article.
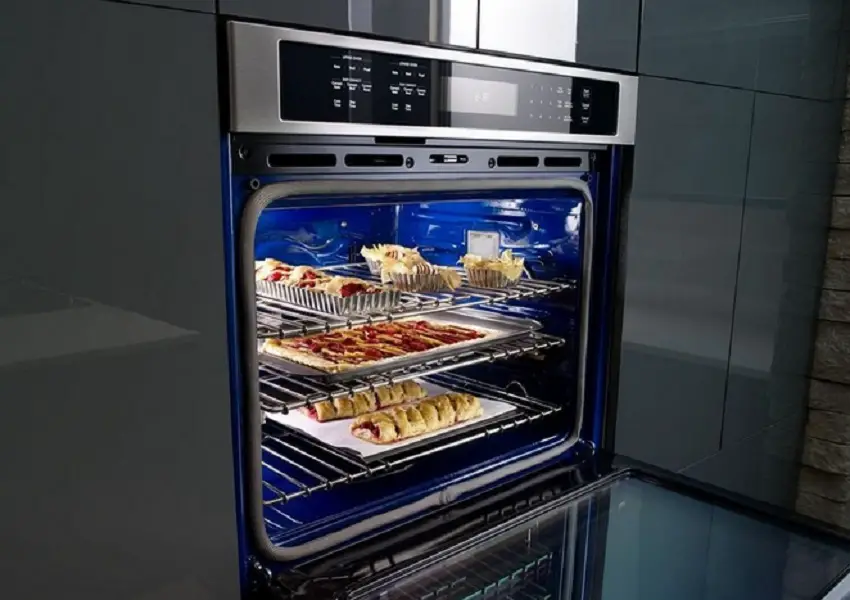
Table of Contents
What Does It Mean To Calibrate Your Oven?
For instance, if your oven is off by 30 degrees, you can calibrate it. Calibrating an oven is basically increasing or decreasing the oven’s temperature by the desired number of degrees. So, when you set the oven to 350 but it seems like the oven is at 320, calibrating it will return the oven to its normal temperature.
How To Calibrate A Kitchenaid Oven
Below, we show you how to calibrate a Kitchenaid oven…
Step 1: Open the door of the oven.
Step 2: Place an oven thermometer on the center rack of the oven and shut the door.
Step 3: Turn the oven on and set it to bake at 350 degrees F.
Step 4: After 20 minutes, take out the thermometer from the oven and look at the reading. If the reading is over 5 degrees higher or lower than 350, you will need to adjust it accordingly.
Step 5: Press the “settings” button and select “Modes”.
Step 6: Press “Temperature Calibration”.
Step 7: Increase or decrease the oven’s temperature.
Step 8: Press “Start” to save the changes.
If this doesn’t work on your Kitchenaid oven model, follow these steps…
Step 1: Press and hold down the “Temp/Time” button for about 5 seconds.
Step 2: Using the arrows, adjust the oven’s temperature.
Step 3: To save the changes, press the “Start” button.
Watch the video below if you would like a visual of how to calibrate a Kitchenaid oven.
If your oven’s temperature is off by more than 30 degrees, the temperature sensor is faulty and should be replaced. Below, we show you how to replace the temperature sensor in a Kitchenaid range oven and a Kitchenaid double wall oven. Follow the steps listed below in order to replace the temperature sensor in a Kitchenaid double wall oven…
Step 1: To avoid the risk of electrocution, switch off the oven’s circuit breaker.
Step 2: Open the door of the oven.
Step 3: There is a lock on each door hinge. Push the lock down.
Step 4: Close the door till it stops.
Step 5: Grip the sides of the door and lift it off.
Step 6: Place the door assembly on a towel lined sturdy surface.
Step 7: Slide out the racks in the oven and set them aside.
Step 8: Take out the two screws on the upper back wall of the oven which secure the broil element. Do this using a quarter inch nut driver or a Philips head screwdriver.
Step 9: Take out the other two screws on the top wall of the oven which secure the broil element to as well.
Step 10: Carefully lower the broil element making sure not to disconnect the wires as you do this.
Step 11: Take out the screws which hold the sensor to the oven’s upper back wall.
Step 12: Carefully pull out the sensor.
Step 13: Disconnect the wire plug from the sensor. Make sure the wire plug doesn’t fall back through the oven’s rear when you do this.
Step 14: Get a new temperature sensor.
Step 15: Connect the wire plug to the temperature sensor.
Step 16: Push the sensor back in and secure to the oven using the two screws.
Step 17: Lift the broil element up and return the screws on the top wall which secure it.
Step 18: Return the other screws on the oven’s upper back wall which secure the broil element as well.
Step 19: Slide the racks back into the oven.
Step 20: Lift up the oven.
Step 21: Insert the hinges on the door into the slots on the sides of the oven.
Step 22: Open the door completely.
Step 23: Flip the locks on the door hinges back to hold the door in place.
Step 24: Shut the door.
Step 25: Switch your oven’s circuit breaker back on.
Watch the video below for a visual of how to replace the temperature sensor in a Kitchenaid double wall oven.
Check out these articles…
Frigidaire Oven Smells [How To Fix]
How To Clean A Kitchenaid Oven [Detailed Guide]
How To Use A Kitchenaid Oven [Detailed Guide]
Kitchenaid Oven Preheating [How To, Issues & Solutions]
Kitchenaid Oven Lock [How To, Issues & Solutions]
To replace the temperature sensor in a Kitchenaid range oven, follow the steps below…
Step 1: To avoid the risk of electrocution, unplug the oven’s power cord or switch the circuit breaker off.
Step 2: Turn the oven around.
Step 3: Using a Philips head screwdriver, take out the three screws which hold the panel bracket on the right.
Step 4: Take out the other screws which hold the panel bracket on the left.
Step 5: Lift the oven’s back panel up and set it aside.
Step 6: The temperature sensor is on the right side of the oven, disconnect the wire plug from the sensor.
Step 7: Take out the screw which holds the sensor to the oven.
Step 8: Remove the sensor.
Step 9: Get a new temperature sensor.
Step 10: Screw the new temperature sensor to the oven.
Step 11: Connect the wire plug to the temperature sensor.
Step 12: Reposition the oven’s back panel.
Step 13: Return the panel brackets on the right and left side of the oven.
Step 14: Secure them with the screws.
Step 15: Reconnect the oven’s power.
Step 16: Push the oven back to the wall.
The video below will show you how to replace the temperature sensor in a Kitchenaid oven.