If your Electrolux oven igniter won’t work, it should be replaced. In this article, we will show you how to replace an Electrolux oven igniter step by step.
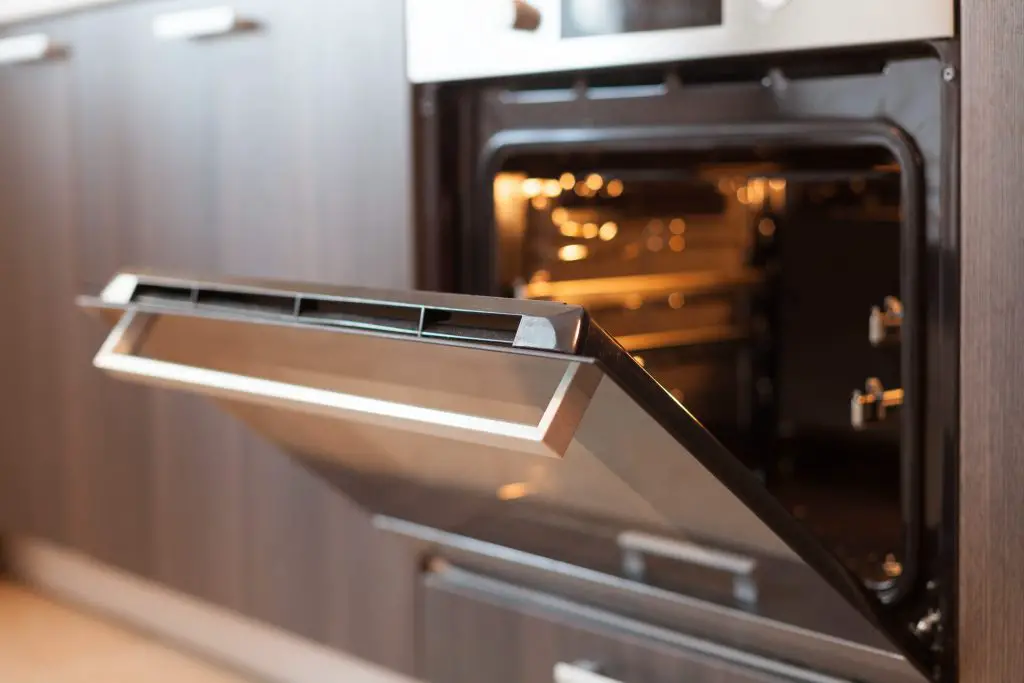
Table of Contents
How To Replace An Electrolux Oven Igniter
Below, we have listed the steps you need to follow in order to replace your Electrolux oven igniter…
Step 1: Pull the oven away from the wall.
Step 2: Unplug the oven’s power cord from the outlet to avoid the risk of electrocution.
Step 3: Shut off the oven’s gas supply.
Step 4: Open the door of the oven.
Step 5: Slide out the oven racks and set them aside.
Step 6: Using a flat head screwdriver, take out the two screws which hold the oven’s bottom panel in place.
Step 7: Lift the bottom panel out and set it aside.
Step 8: Using a 3/8th inch nut driver, take out the nut which holds the flame spreader in place.
Step 9: Remove the flame spreader.
Step 10: Pull out the oven’s bottom drawer.
Step 11: Using a Philips head screwdriver, take out the igniter wire shield on the left side of the oven.
Step 12: Remove the wire cover and disconnect the wire plug from the igniter.
Step 13: Disconnect the other igniter wires from the safety valve.
Step 14: Using a quarter inch nut driver, take out the two screws which secure the igniter to the burner tube.
Step 15: Remove the igniter.
Step 16: Get a new igniter and take it to the oven.
Step 17: Remove the rubber protectors from the old igniter wires and slide them onto the new one.
Step 18: Position the igniter on the burner tube and hold it in place with the quarter inch screws.
Step 19: Reconnect the wires to the terminals of the safety valve.
Step 20: Connect the igniter wire plug to the plug on the left side of the oven.
Step 21: Reposition the wire cover and hold it in place with the Philips head screw.
Step 22: Push the oven’s bottom drawer back in.
Step 23: Return the oven’s flame spreader.
Step 24: Hold the flame spreader in place with the nut.
Step 25: Reposition the oven’s bottom panel and hold it in place with the two screws.
Step 26: Slide the racks back into the oven.
Step 27: Shut the door.
Step 28: Plug the oven back in.
Step 29: Turn the oven’s gas supply back on.
Step 30: Return the oven to its usual position.
Watch the video below for a visual of how to replace an Electrolux oven igniter.
If the steps above for replacing an Electrolux igniter don’t work on your oven model, follow the steps listed below…
Step 1: Pull the oven away from the wall.
Step 2: Unplug the oven’s power cord from the outlet.
Step 3: Shut off the oven’s gas supply.
Step 4: Pull out the oven’s bottom drawer and set it aside.
Step 5: Open the door of the oven.
Step 6: Slide out the oven racks and set them aside.
Step 7: There are locks on the oven door hinges. Flip them forward using a flat blade screwdriver.
Step 8: Close the door till it can’t go any further then lift it off and set it aside on a cloth lined surface.
Step 9: Using the flat blade screwdriver, take out the screws which hold the oven’s bottom panel in place.
Step 10: Lift the bottom panel out of the oven and set it aside.
Step 11: Using a quarter inch nut driver, take out the two screws which hold the heat shield in place.
Step 12: Lift the heat shield out of the oven.
Step 13: Look underneath the oven, you will see the white wire plug connected to the igniter on the upper left corner. Disconnect the wire plug.
Step 14: Take out the two quarter inch screws which hold the igniter to the burner tube.
Step 15: Remove the igniter from the oven.
Step 16: Get a new igniter.
Step 17: Position the igniter on the burner tube and hold it in place with the two quarter inch screws.
Step 18: Reconnect the igniter wire plug.
Step 19: Reposition the oven’s heat shield and hold it in place with the two quarter inch screws.
Step 20: Return the oven’s bottom panel.
Step 21: Hold the bottom panel in place with the two screws.
Step 22: Slide the racks back into the oven.
Step 23: Lift the oven door and insert the hinges back into the slots on the sides of the oven.
Step 24: Open the door fully and flip the hinge locks back.
Step 25: Shut the door of the oven.
Step 26: Slide the oven’s bottom rack back into place.
Step 27: Reconnect the power to the oven.
Step 28: Turn on the oven’s gas supply and return it to its usual position.
Watch the video below for a visual of how to replace an Electrolux oven igniter.
Check out these articles…
Electrolux Oven Error Codes [Easy Solutions]
Electrolux Oven Is Not Working [Proven Solutions]
How To Use An Electrolux Oven [Detailed Guide]
Electrolux Oven Clock/Timer [Problems, Solutions & Guides]
How Does An Electrolux Oven Work? [Detailed Guide]
Safety Valve
If your Electrolux oven igniter doesn’t work after replacing the igniter, the safety valve may be faulty. Below, we have listed the steps you need to follow in order to replace the safety valve in an Electrolux oven…
Step 1: Pull the oven away from the wall and unplug the power cord from the outlet.
Step 2: Shut off the oven’s gas supply.
Step 3: Go to the oven’s rear.
Step 4: Using a 3/4 inch wrench and a 9/16th inch wrench, disconnect the gas tube from the safety valve on the oven’s lower rear.
Step 5: Open the door of the oven.
Step 6: Slide out the oven racks and set them aside.
Step 7: Take out the two screws which hold the oven’s bottom panel using a flat head screwdriver.
Step 8: Lift the panel out of the oven and set it aside.
Step 9: Pull out the oven’s bottom drawer.
Step 10: Use a 3/8th inch nut driver to take out the nut holding the flame spreader in place.
Step 11: Remove the flame spreader and set it aside.
Step 12: Disconnect the wires from the safety valve and lift the burner tube of it. To remove the burner tube, you will need to take out the two screws.
Step 13: Take out the screw which holds the safety valve in place.
Step 14: Lift the mounting plate off the safety valve.
Step 15: Get a multimeter and turn the dial to the ohms setting.
Step 16: Touch the multimeter probes to the terminals of the safety valve. If there is no continuity, the safety valve should be replaced.
Step 17: Get a new safety valve.
Step 18: Position the mounting plate on the new safety valve.
Step 19: Secure the new safety valve to the oven with the screw.
Step 20: Reposition the burner tube and secure it with the two screws.
Step 21: Reconnect the two wires to the terminals of the safety valve.
Step 22: Reposition the flame spreader and return the nut which secures it.
Step 23: Return the oven’s bottom panel and hold it in place with the screws.
Step 24: Slide the racks back into the oven.
Step 25: Shut the oven door.
Step 26: Slide the oven bottom drawer back in.
Step 27: Go to the oven’s rear and reconnect the gas supply tube to the safety valve. Do not overtighten the tube or you could damage it.
Step 28: Reconnect the oven’s power supply.
Step 29: Turn the oven’s gas supply back on.
Step 30: Return the oven to its usual position.
The video below will give you a visual of how to replace the safety valve in an Electrolux oven.
If your Electrolux oven igniter still won’t work after replacing the safety valve, the control board should be replaced. Read this article: Electrolux Oven Not Heating & Related Issues [Solutions] to replace the control board in your Electrolux oven.
