Is your Beko oven light not working but you have no idea what to do? In this article, we will talk about Beko oven light problems and how to fix them.
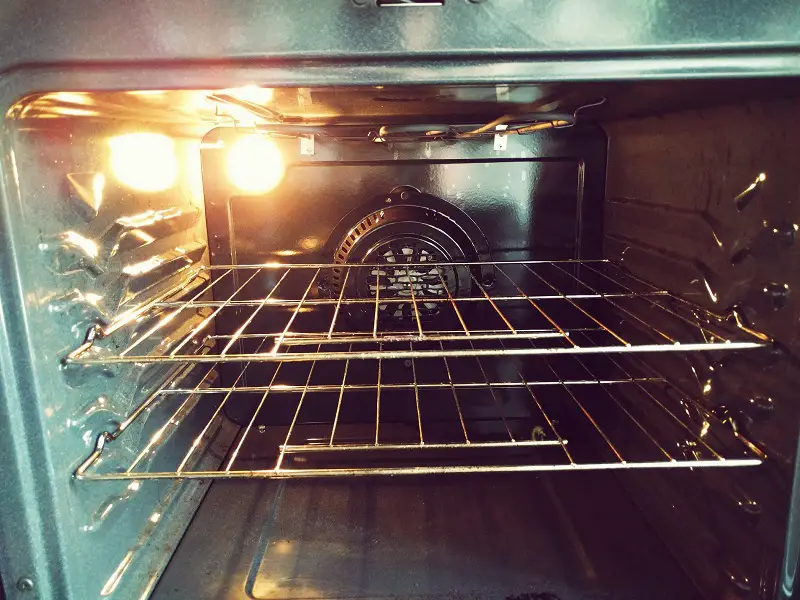
Table of Contents
Beko Oven Light Is Not Working — How To Fix
Below, we have listed the possible reasons why your Beko oven light won’t work and what to do about them.
1. Light Bulb
A faulty light bulb is the most likely reason why your Beko oven light won’t work. Below, we have listed the steps you need to follow in order to replace the light bulb in your Beko oven…
Step 1: To avoid the risk of electrocution, unplug the oven’s power cord from the outlet or switch off the circuit breaker to avoid the risk of electrocution.
Step 2: Open the door of the oven.
Step 3: Slide out the racks and set them aside.
Step 4: Depending on your oven model, you will see the light bulb on the upper right or left of the oven’s back wall. Unscrew the light cover by turning it counterclockwise.
Step 5: Set the light cover aside and unscrew the light bulb from the socket.
Step 6: Get a new light bulb.
Step 7: Screw the light bulb into the socket.
Step 8: Return the light cover and screw it into place.
Step 9: Slide the racks back into the oven.
Step 10: Shut the door.
Step 11: Plug the oven’s power cord back in or switch the circuit breaker back on.
Watch the video below for a visual of how to replace your Beko oven light bulb.
Check out these articles…
How To Clean A Beko Oven [Detailed Guide]
Beko Oven Thermostat [How To, Guide]
Beko Oven Knobs [Problems & Proven Solutions]
Bosch Oven Door [How To, Problems & Proven Solutions]
How To Clean A Bosch Oven [Detailed Guide]
2. Light Socket
If replacing the light bulb doesn’t fix the problem, the light socket may be faulty. Below, we have listed the steps you need to follow in order to replace your Beko oven light socket…
Step 1: Unplug the oven’s power cord from the outlet or switch the circuit breaker off.
Step 2: Open the door of the oven.
Step 3: Take out the racks.
Step 4: If your oven is installed to a cabinet, you will need to uninstall it. Take out the screws on the sides of the oven frame which hold it to the cabinet.
Step 5: Lift the oven out of the cabinet and set in a sturdy cloth lined surface.
Step 6: Unscrew the light bulb cover.
Step 7: Set the cover aside and unscrew the light bulb as well.
Step 8: Go to the oven’s rear.
Step 9: Take out screws which hold the oven’s back panel in place.
Step 10: Lift the panel off and set it aside.
Step 11: Disconnect the wires from the terminals of the light socket.
Step 12: Go to the oven interior and use a flat head screwdriver to bend back the tabs which hold the light socket in place. Have someone push the light socket as you do this
Step 13: Remove the light socket and get a new one.
Step 14: Push the new light socket into the oven and reconnect the wires to the terminals.
Step 15: Reposition the oven’s back panel and hold it in place with the screws.
Step 16: Screw the light bulb back into the socket.
Step 17: Screw the light bulb cover back as well.
Step 18: Lift the oven up and push it back into the cabinet.
Step 19: Secure the sides of the oven back to the cabinet and return the racks.
Step 20: Shut the door and plug the oven back in or turn the circuit breaker back on.
3. Burnt Wires
If both the light bulb and socket aren’t faulty, the wires connected to the socket may be faulty. Inspect the wires connected to the light socket. If the wires appear burnt or damaged in any way, they should be fixed. Contact a technician to fix the light socket wires.
