Is your Maytag oven control panel not working or would you like to know how to replace the control board. In this article, we will show you how to do this and more.
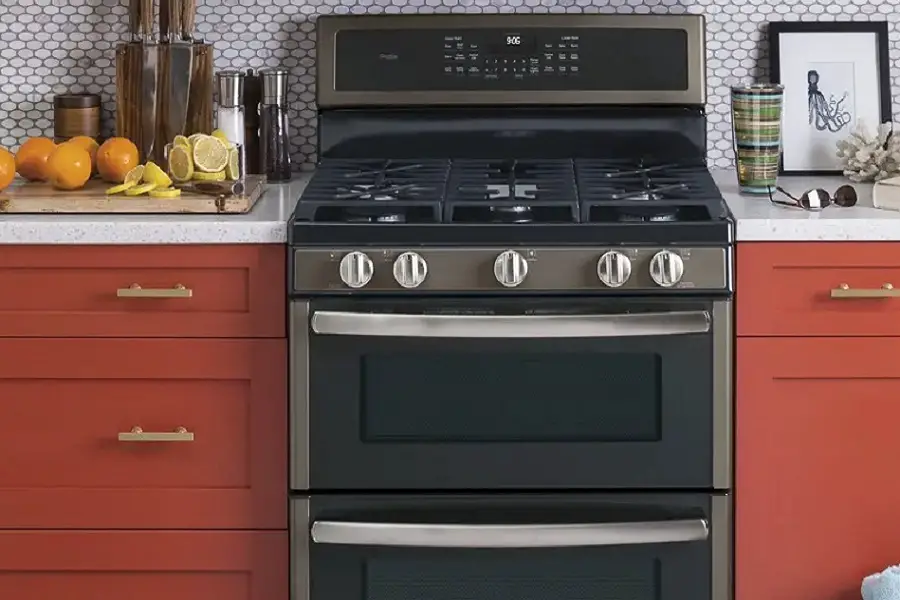
Table of Contents
Maytag Oven Control Board Not Working — How To Fix
If your Maytag oven control board is not working, it should be replaced. Below, we have listed the steps you need to follow in order to replace the control board in your Maytag oven…
Step 1: Pull the oven away from the wall.
Step 2: Unplug the oven’s power cord from the outlet.
Step 3: Using a Philips head screwdriver, take out the screws which hold the oven’s upper back panel in place.
Step 4: Lift the upper panel off and set it aside.
Step 5: Note where each wire goes on the control board by taking a picture.
Step 6: Disconnect the wires from the control board.
Step 7: Take out the screws which hold the control board to the oven.
Step 8: Carefully pry off the touchpad from the control board.
Step 9: Get a new control board.
Step 10: Stick the touchpad onto the new control board.
Step 11: Position the control board in the oven and hold it in place with the screws.
Step 12: Connect the wires to the control board making sure each wire goes to the right place.
Step 13: Reposition the oven’s upper back panel and hold it in place with the screws.
Step 14: Plug the oven’s power cord back into the outlet.
Watch the video below for a visual of how to replace the control board in a Maytag oven.
Check out these articles…
Kitchenaid Oven Is Not Working [How To Fix]
Maytag Oven Igniter [Problems & Solutions]
How To Clean A Maytag Oven… [Detailed Guide]
Maytag Oven Door [How To, Problems & Solutions]
Maytag Oven Will Not Turn On [& Related Issues Solved]
Maytag Oven Control Panel Not Working — How To Fix
If your Maytag oven control panel is not working, the touchpad should be replaced. Below, we have listed the steps you need to follow in order to replace a Maytag oven touchpad…
Step 1: Unplug the oven’s power cord.
Step 2: Pull the oven away from the wall.
Step 3: Use a Philips head screwdriver to take out the screws holding the oven’s upper back panel.
Step 4: Remove the back panel and disconnect the wires from the control board making sure to note where each one goes first.
Step 5: Take out the Philips head screws which hold the control board to the oven.
Step 6: Using a heat gun, melt the glue which helps the touchpad stick to the control board. Do not place the heat gun too close to the touchpad.
Step 7: Pry off the touchpad with a putty knife.
Step 8: Get a new touch pad and peel off the backing.
Step 9: Stick the new touchpad to the control board and secure it back to the oven with the screws.
Step 10: Connect the wires back to the control board.
Step 11: Return the oven’s back panel and hold it in place with the screws.
Step 12: Plug the oven’s power cord back in.
Step 13: Return the oven to its usual position.
Maytag Oven Control Lock — How To Use
Follow the steps below to use your Maytag oven control lock feature…
Step 1: Press and hold down the “Cancel/Off” button on the control panel.
Step 2: To unlock, simply hold down the same button for 3 seconds.
Maytag Oven Control Panel Reset
To reset your Maytag oven control panel, follow these steps…
Step 1: Pull the oven away from the wall.
Step 2: Unplug the oven’s power cord from the outlet.
Step 3: Leave the oven unplugged for 5 minutes.
Step 4: After 5 minutes, plug the oven back in.